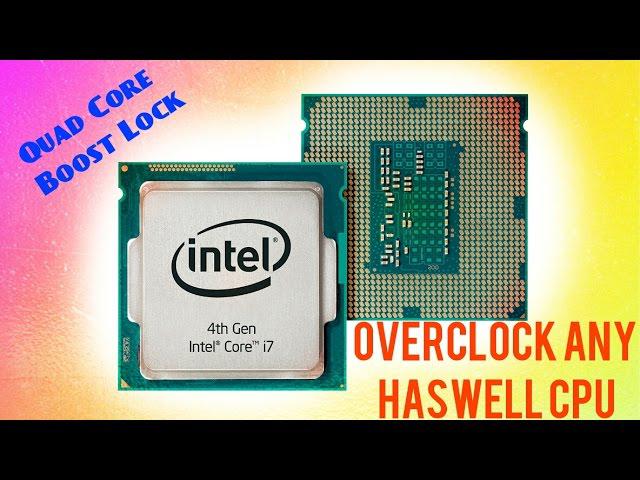
Speed freaks, take note: If you shelled out for an unlocked version of Intel’s new Haswell processor and haven’t overclocked your PC yet, you’re missing out on some serious—and free—performance improvements.
Last month I spent $1000 to build the ultimate Haswell PC, a speedy machine powered by a Core i7-4770K, a fast solid-state drive, 8GB of RAM, and a discrete graphics card.
Since gaming performance wasn’t the primary goal, I spent the majority of my budget on a premium processor and solid-state storage drive. A speedy CPU-SSD combo gives you the smoothest overall computing experience, especially with a streamlined operating system like Windows 8.
But I had an even better reason for buying a premium Haswell processor: overclocking.
Sure, I could have saved a few bucks building the new Haswell-powered rig by opting for a cheaper CPU, perhaps using the extra scratch to slap in a more powerful GPU, but I thought that springing for the top-of-the-line Core i7-4770K was ideal for a couple of reasons. Not only is the Core i7-4770K the fastest quad-core processor Intel has released to date, but its “K” designation means the chip is unlocked, which allows for easier and more flexible overclocking. I didn’t do any overclocking for the original article I wrote, because budget constraints forced me to stick with stock cooling, but that didn’t stop me from upgrading the rig after the fact to see just what it could do with a bit of tweaking.
I’m happy to report that the overclocking process was simple, safe, and rewarding. You can easily net a 15 to 25 percent improvement in PC performance tests by overclocking your Haswell CPU with the following process.

It’s getting hot in here
First, a quick bit of background about the danger of overclocking: If you follow the desktop processor scene, you may remember reading about the thermal issues that cropped up while overclocking Intel’s third-generation Ivy Bridge processors. Eager enthusiasts immediately started overclocking the chips and found that the processors seemed to run significantly hotter than the previous generation’s Sandy Bridge-based products under certain overclocked conditions.
Two things were to blame for making Ivy Bridge chips hot under the collar: First, the 22nm tri-gate transistors used to manufacture the chips were more densely packed into a smaller area with Ivy Bridge, which in turn increased the chips’ thermal density. Second, Intel replaced the flux-less solder used to bond the integrated heat spreader (or IHS) to the die on Sandy Bridge processors with a lower-performing, paste-like thermal interface material. The combination of increased heat density and a crappier TIM caused overclocked Ivy Bridge chips to heat up pretty quickly. The chips were still highly overclockable, but you had to take extra precautions because their temperatures would more quickly and more dramatically spike under load.
Unfortunately, Haswell chips suffer from the same thermal issues. The chips are manufactured using a similar 22nm tri-gate process, and the same thermal paste is used under their heat spreaders. As such, you need to be aggressive about keeping your Haswell CPU cool while overclocking to maintain stability and ensure peak performance.
The cooling conundrum
Overclocking an unlocked Haswell CPU is technically possible with any cooler, but the more significant the overclock, the more powerful the CPU’s cooler must be. This is true of any processor, but since this is your brand-new CPU we’re talking about, I have to warn you again to please, please use a high-quality cooler. The bigger and badder, the better.
If you really want to push the limits of your Haswell-based processor—using voltages above 1.25V or so, and clock speeds approaching 5GHz—I strongly recommend water or more-exotic cooling methods. A high-end air cooler, however, will still allow for plenty of fun. As part of my overclocking experiment, I enlisted the help of a gargantuan air cooler from Noctua, the NH-U14S, which dwarfs Intel’s stock cooler.
The Noctua NH-U14S is big—roughly 6 by 4 inches, weighing just shy of 3 pounds with a single 140mm cooling fan installed. The heat-sink assembly is made up of a copper base and multiple copper heat pipes, linked to a large, dense array of aluminum cooling fins. All of the joints on the heat sink are soldered, and the entire thing is nickel-plated and polished to a mirror-like finish. With its increased mass and large surface area, the Noctua NH-U14S can dissipate much more heat than the paltry stock Intel cooler, which will ultimately result in lower operating temperatures and potentially higher overclock speeds.
Haswell Overclocking 101
The process of overclocking your new Haswell CPU is pretty similar to overclocking older Intel processors. With Haswell though, if you plan to overclock, you must have a CPU with the “K” designator—like the Core i7-4770K we used. Non-K-SKUs have very limited overclocking potential due to hardware locks (boo!) that Intel has built in to this processor generation.
There are two ways to overclock your CPU: by increasing its multiplier or by increasing its base clock (BCKL) frequency. For example, the Core i7-4770K’s base 3.5GHz clock speed is achieved with a multiplier of 35 and a BCLK of 100MHz: 35 x 100MHz = 3500MHz, or 3.5GHz.
The Core i7-4770K’s 3.9GHz max clock is achieved with a multiplier of 39 and the same 100MHz BCLK. Increase either the multiplier or the BCLK, and the processor’s clock speed will ultimately increase as well. Because K-SKUs are unlocked, you can freely change the multipliers and set the BCLK to different ratios, or straps, of 100MHz, 125MHz, 167MHz, and 250MHz. You can then tweak the actual BCLK in small increments as well, as long as you’re using an overclocker-friendly motherboard like my Gigabyte Z87-UD3H.
Sadly, Intel’s Haswell chips, like their predecessors, offer limited BCLK adjustments. You can alter the BCLK by only a few MHz over or under the specific strap to fine-tune the processor’s frequency. BCLK adjustments larger than 4MHz or 5MHz are very uncommon.
I should also mention that you can also modify multipliers for the memory and uncore speeds—even the iGPU frequency—if you want to tweak other aspects of performance. For now, I’ll be focusing solely on CPU performance.


